
How do I plan my shots?
Other than swinging a broken-off broomstick at a beat-up tennis ball (a legendary training program, if you ask 10-year-old me), my childhood pals and I never played organized baseball. Back then, Memphis was (and still is) a basketball town… but youth baseball has absolutely leveled up since those days.
So when I started shooting baseball, I quickly realized: if you want great photos, you don’t just point a camera at the infield and hope for the best. You learn the game. You learn the rhythm. You learn where the action actually lives.
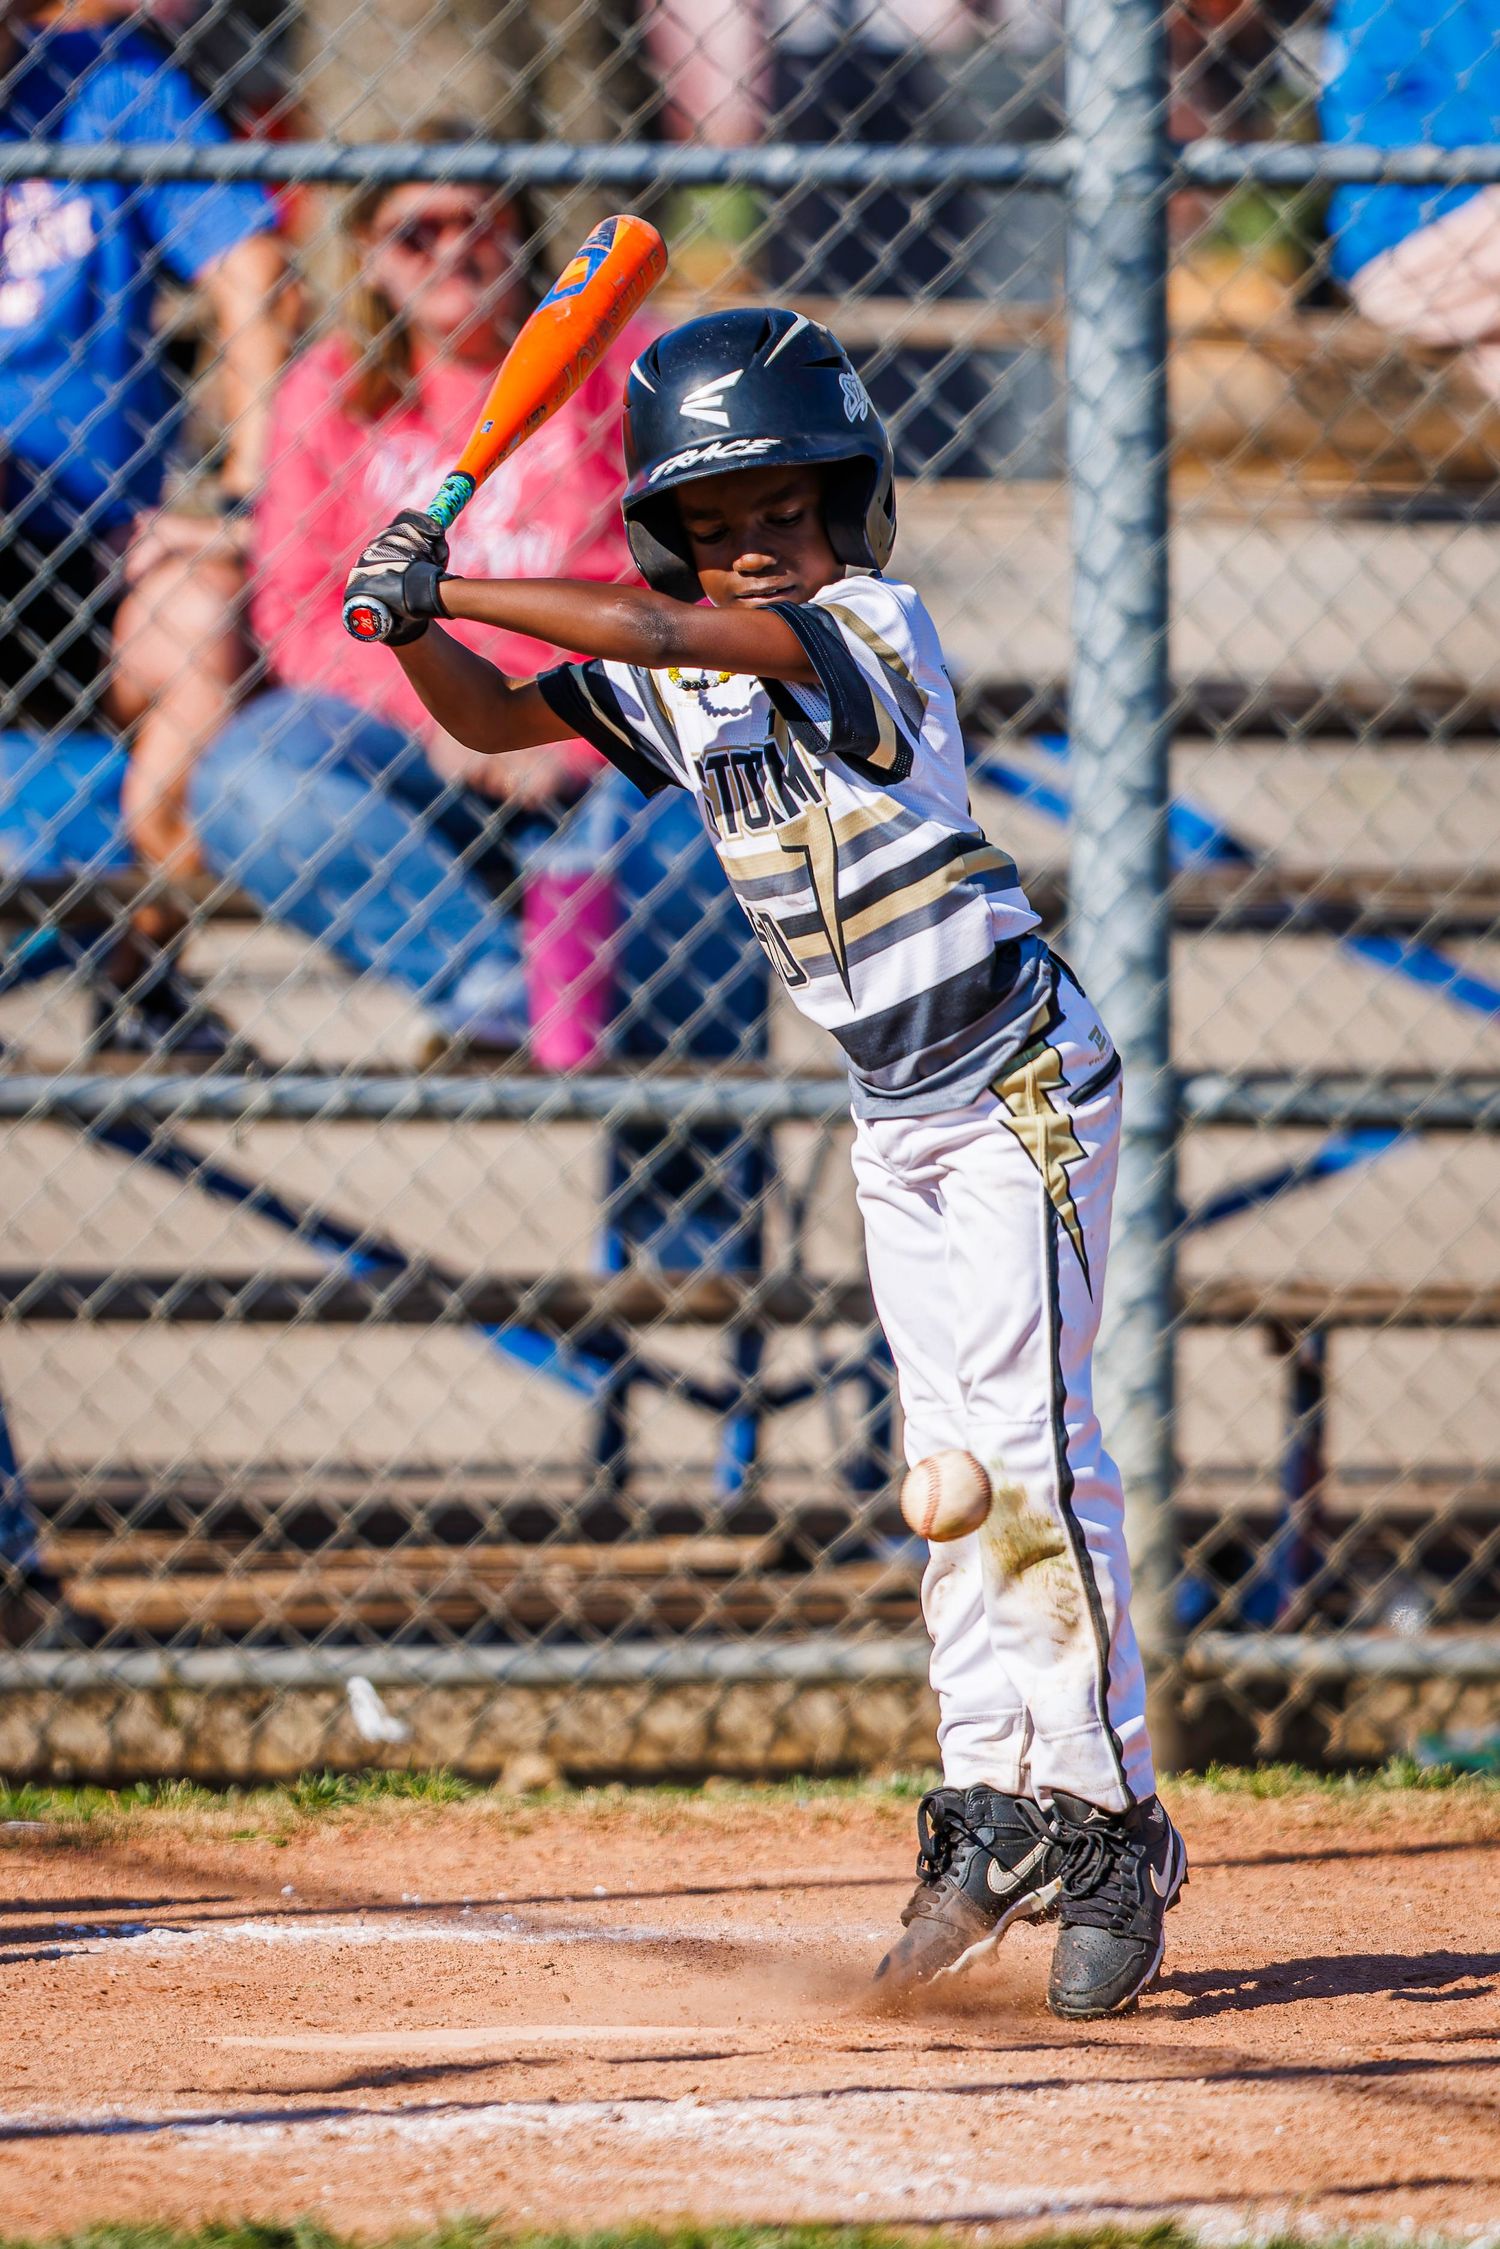
Through trial and error (and a few “well…that angle was ambitious” moments), I found that setting up somewhere along the foul line in outer right field gets me 60–70% of my key shots with my Canon EF 300mm f/2.8. From there, you usually get clean views of the batter, pitcher, catcher, and runners rounding bases—plus a steady stream of “this kid is absolutely dialed in” moments.
Now, this isn’t a one-size-fits-all magic trick. Sometimes the sun decides to personally sabotage your session, creating strong casting shadows where you want to shoot. Other times, you’ve got a lefty hitter/pitcher changing the whole look of the play. Sometimes a pop fly turns your right fielder into a full-speed superhero. And sometimes field access is limited and you’re shooting through a fence that suddenly feels like it was spun by a giant spider.
Below are a few real-world examples of when I had to move beyond my “sweet spot” to keep the shots (and the parents) happy.
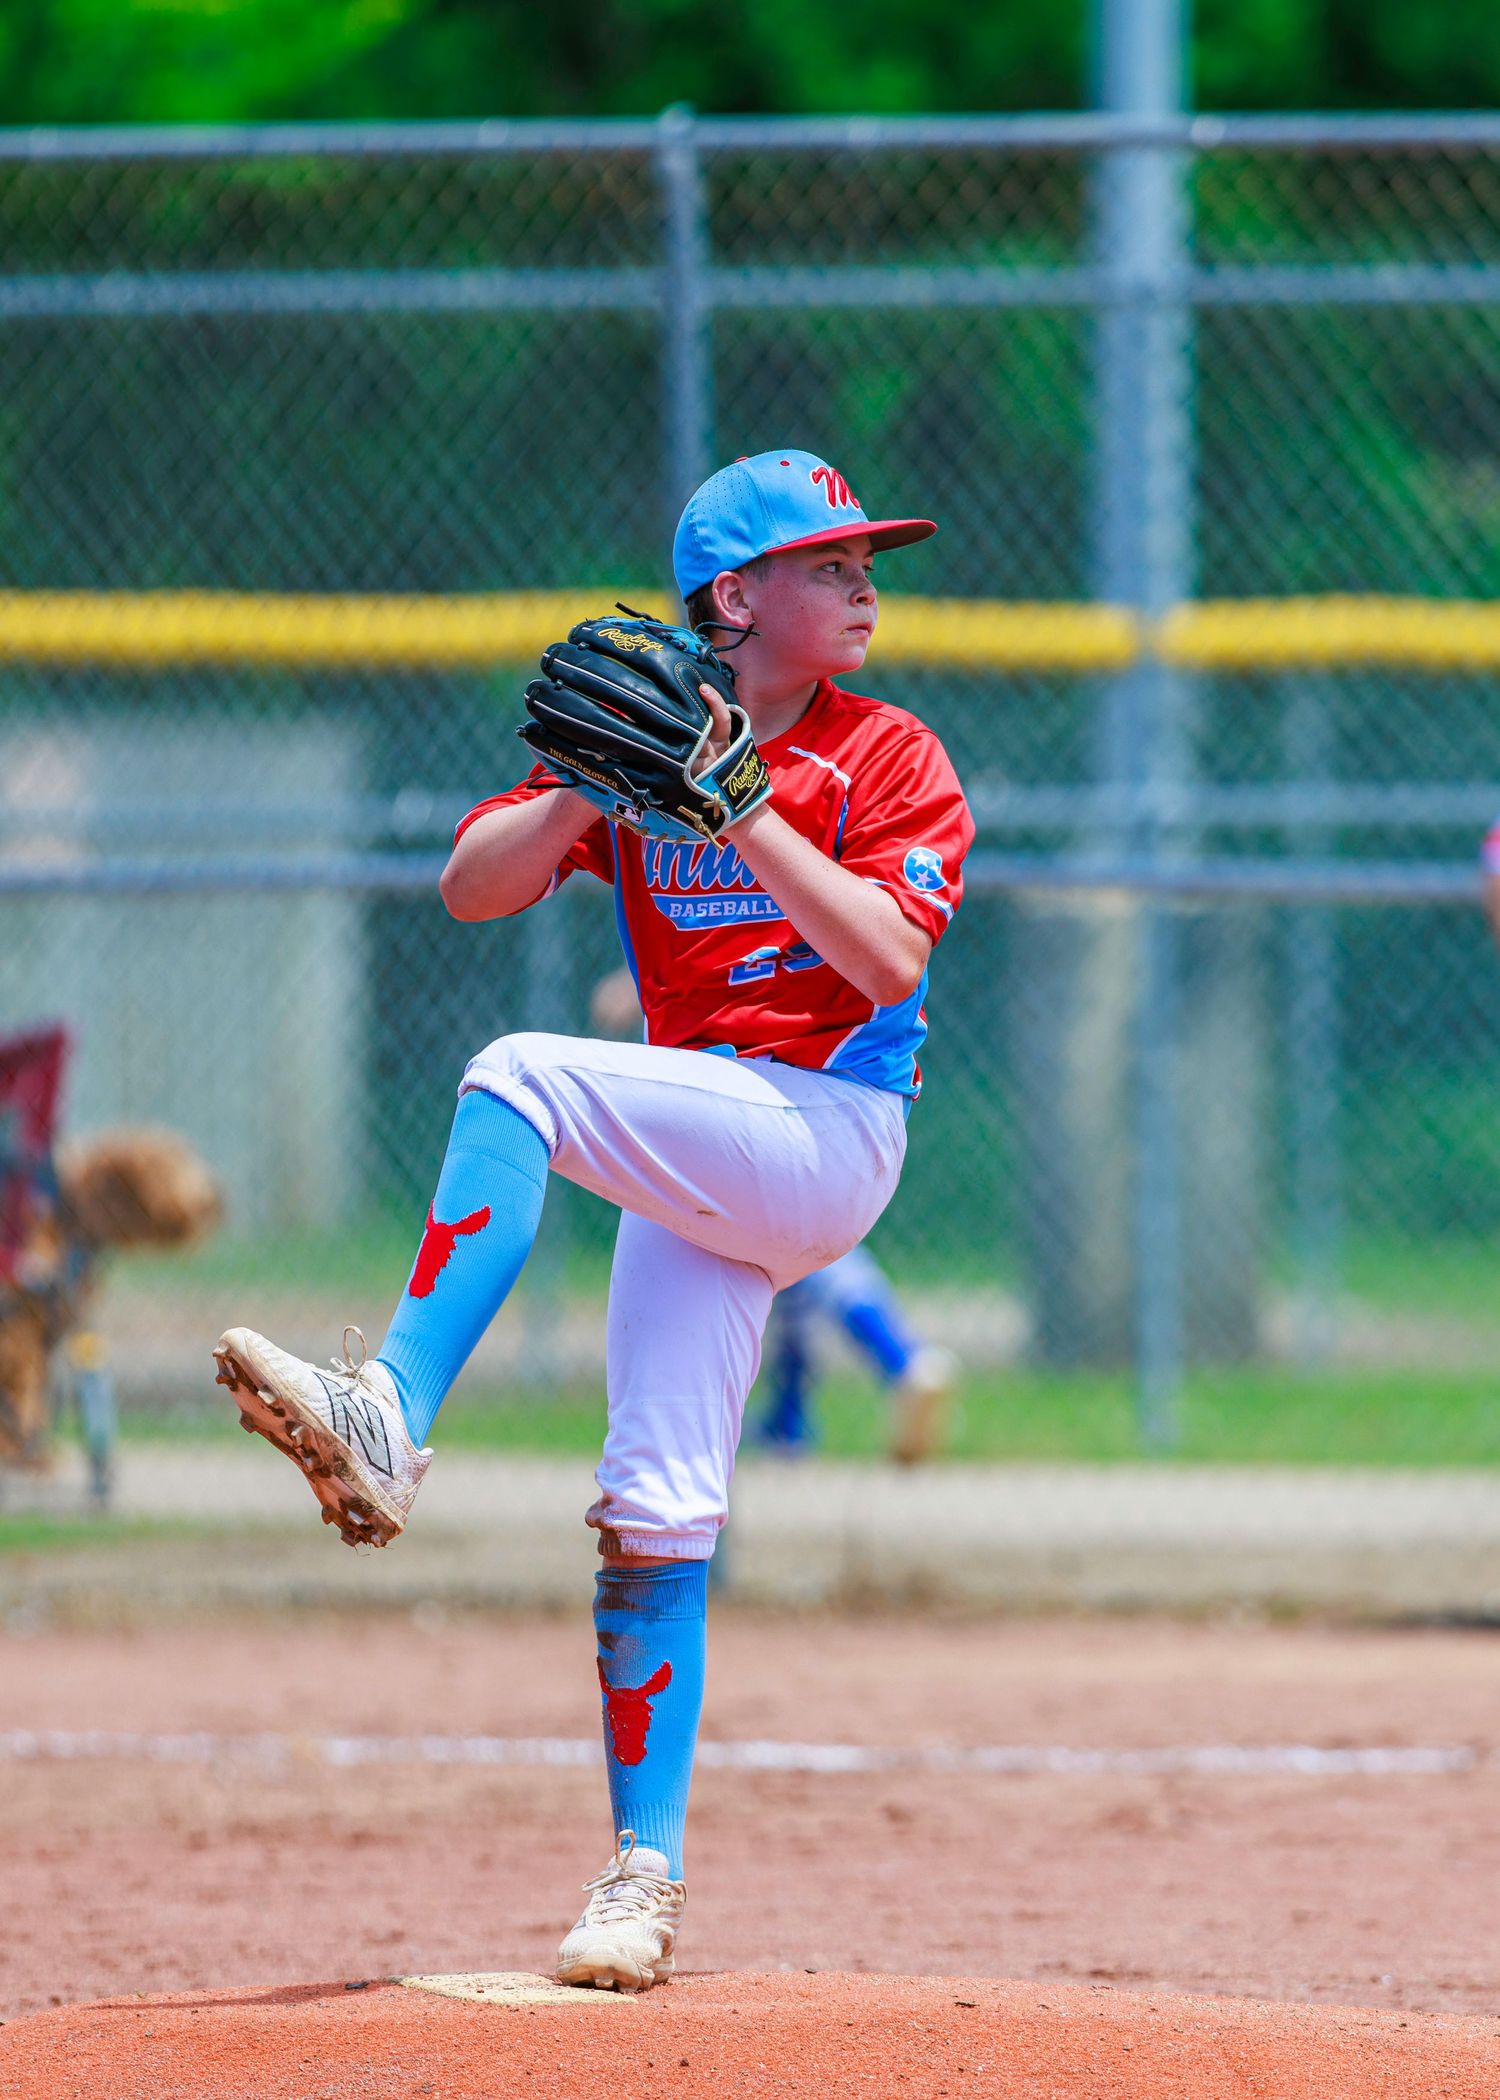
Pitcher feature: between 3rd base and home
In this shot, I wanted a more front-facing angle of a right-handed pitcher winding up—because let’s be honest: the face + intensity is where the story is. I’m trying to freeze that split-second right before they launch what every parent describes as a “100 mph heater” (and I am not here to fact-check anyone’s radar gun).
To pull this off, I’ll position myself somewhere between 3rd base and home when possible. That angle gives you the best chance of capturing the eyes, the mechanics, and the moment everything snaps into motion.
But some field setups don’t allow it—so that’s when you reach into your bag of photographer “treats”: tighter framing, lower angles, shooting through a window in the fence, or pivoting to capture the catcher/pitcher combo like it’s a battery-powered buddy cop movie.
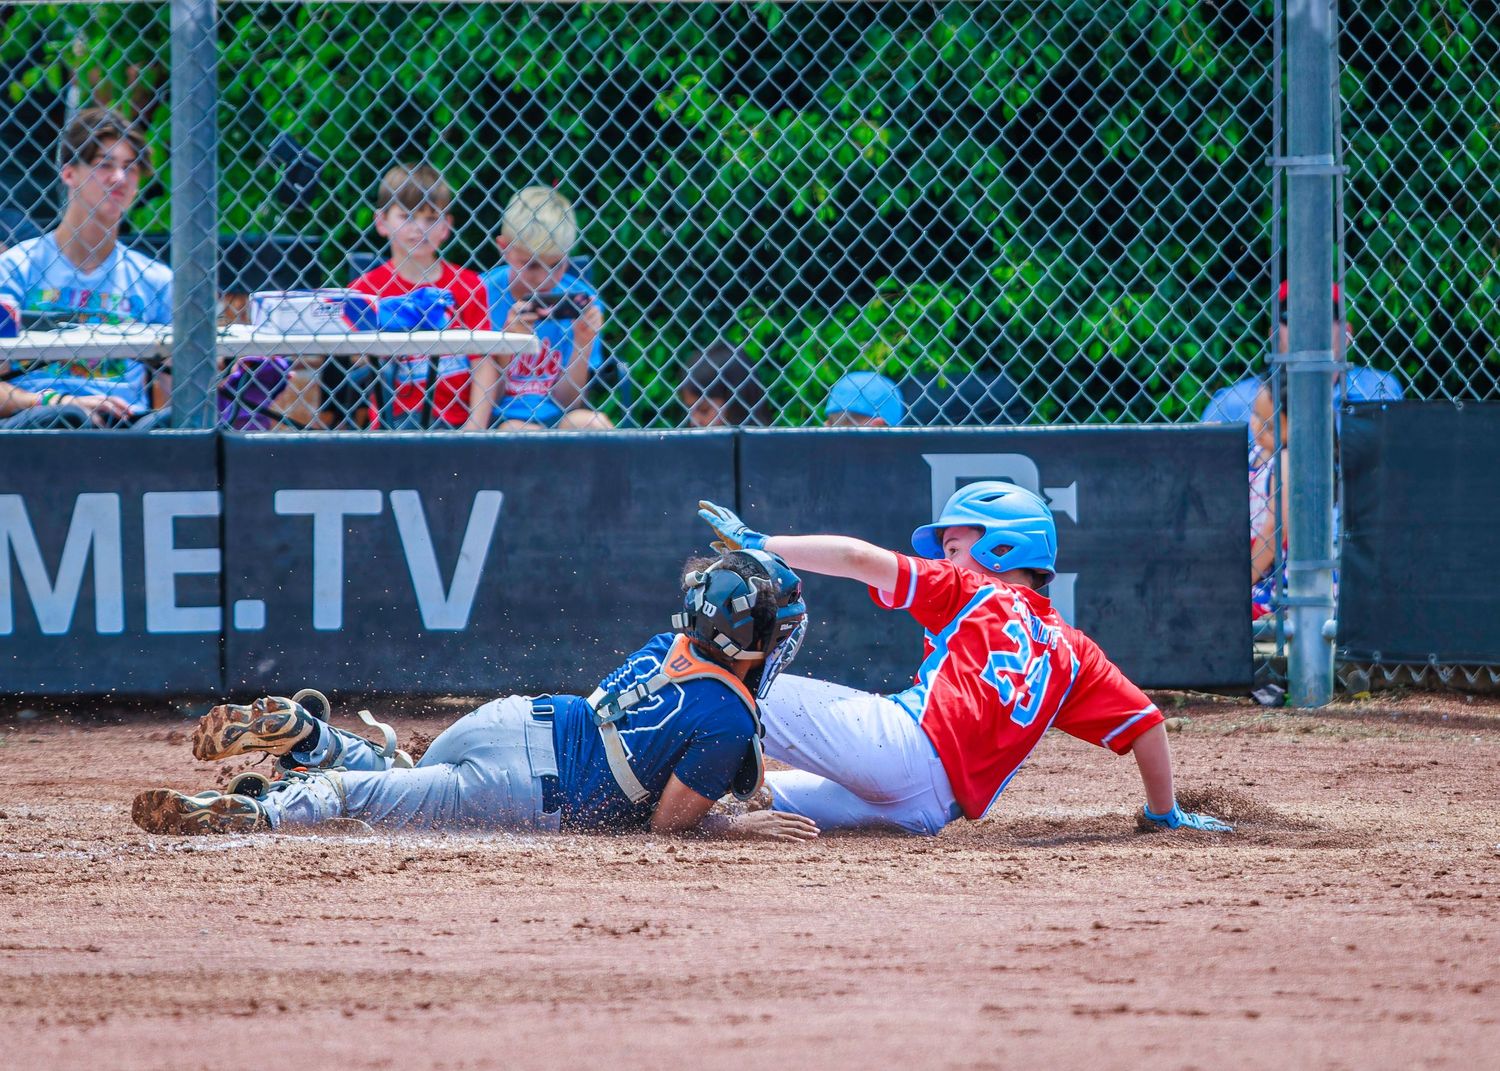
Runner sliding into home: why I shoot from behind 3rd base
Nothing says youth baseball cinema like a runner coming home at full speed—dust flying, helmet slightly crooked, and a catcher trying to apply the tag like their entire legacy depends on it.
For plays at the plate, I like shooting from behind (or just off) 3rd base because it puts me on a clean diagonal line to home: I can see the runner’s face charging in, the catcher’s glove reaching across, and the ump/coach reactions stacked in the background. It also helps avoid the “all I photographed was the back of a jersey and a cloud of dirt” problem.
From this spot, you’re not just documenting a slide—you’re capturing the moment: effort, urgency, and chaos… the holy trinity of youth baseball photography.
Steal attempt from 3rd: near/behind 1st base
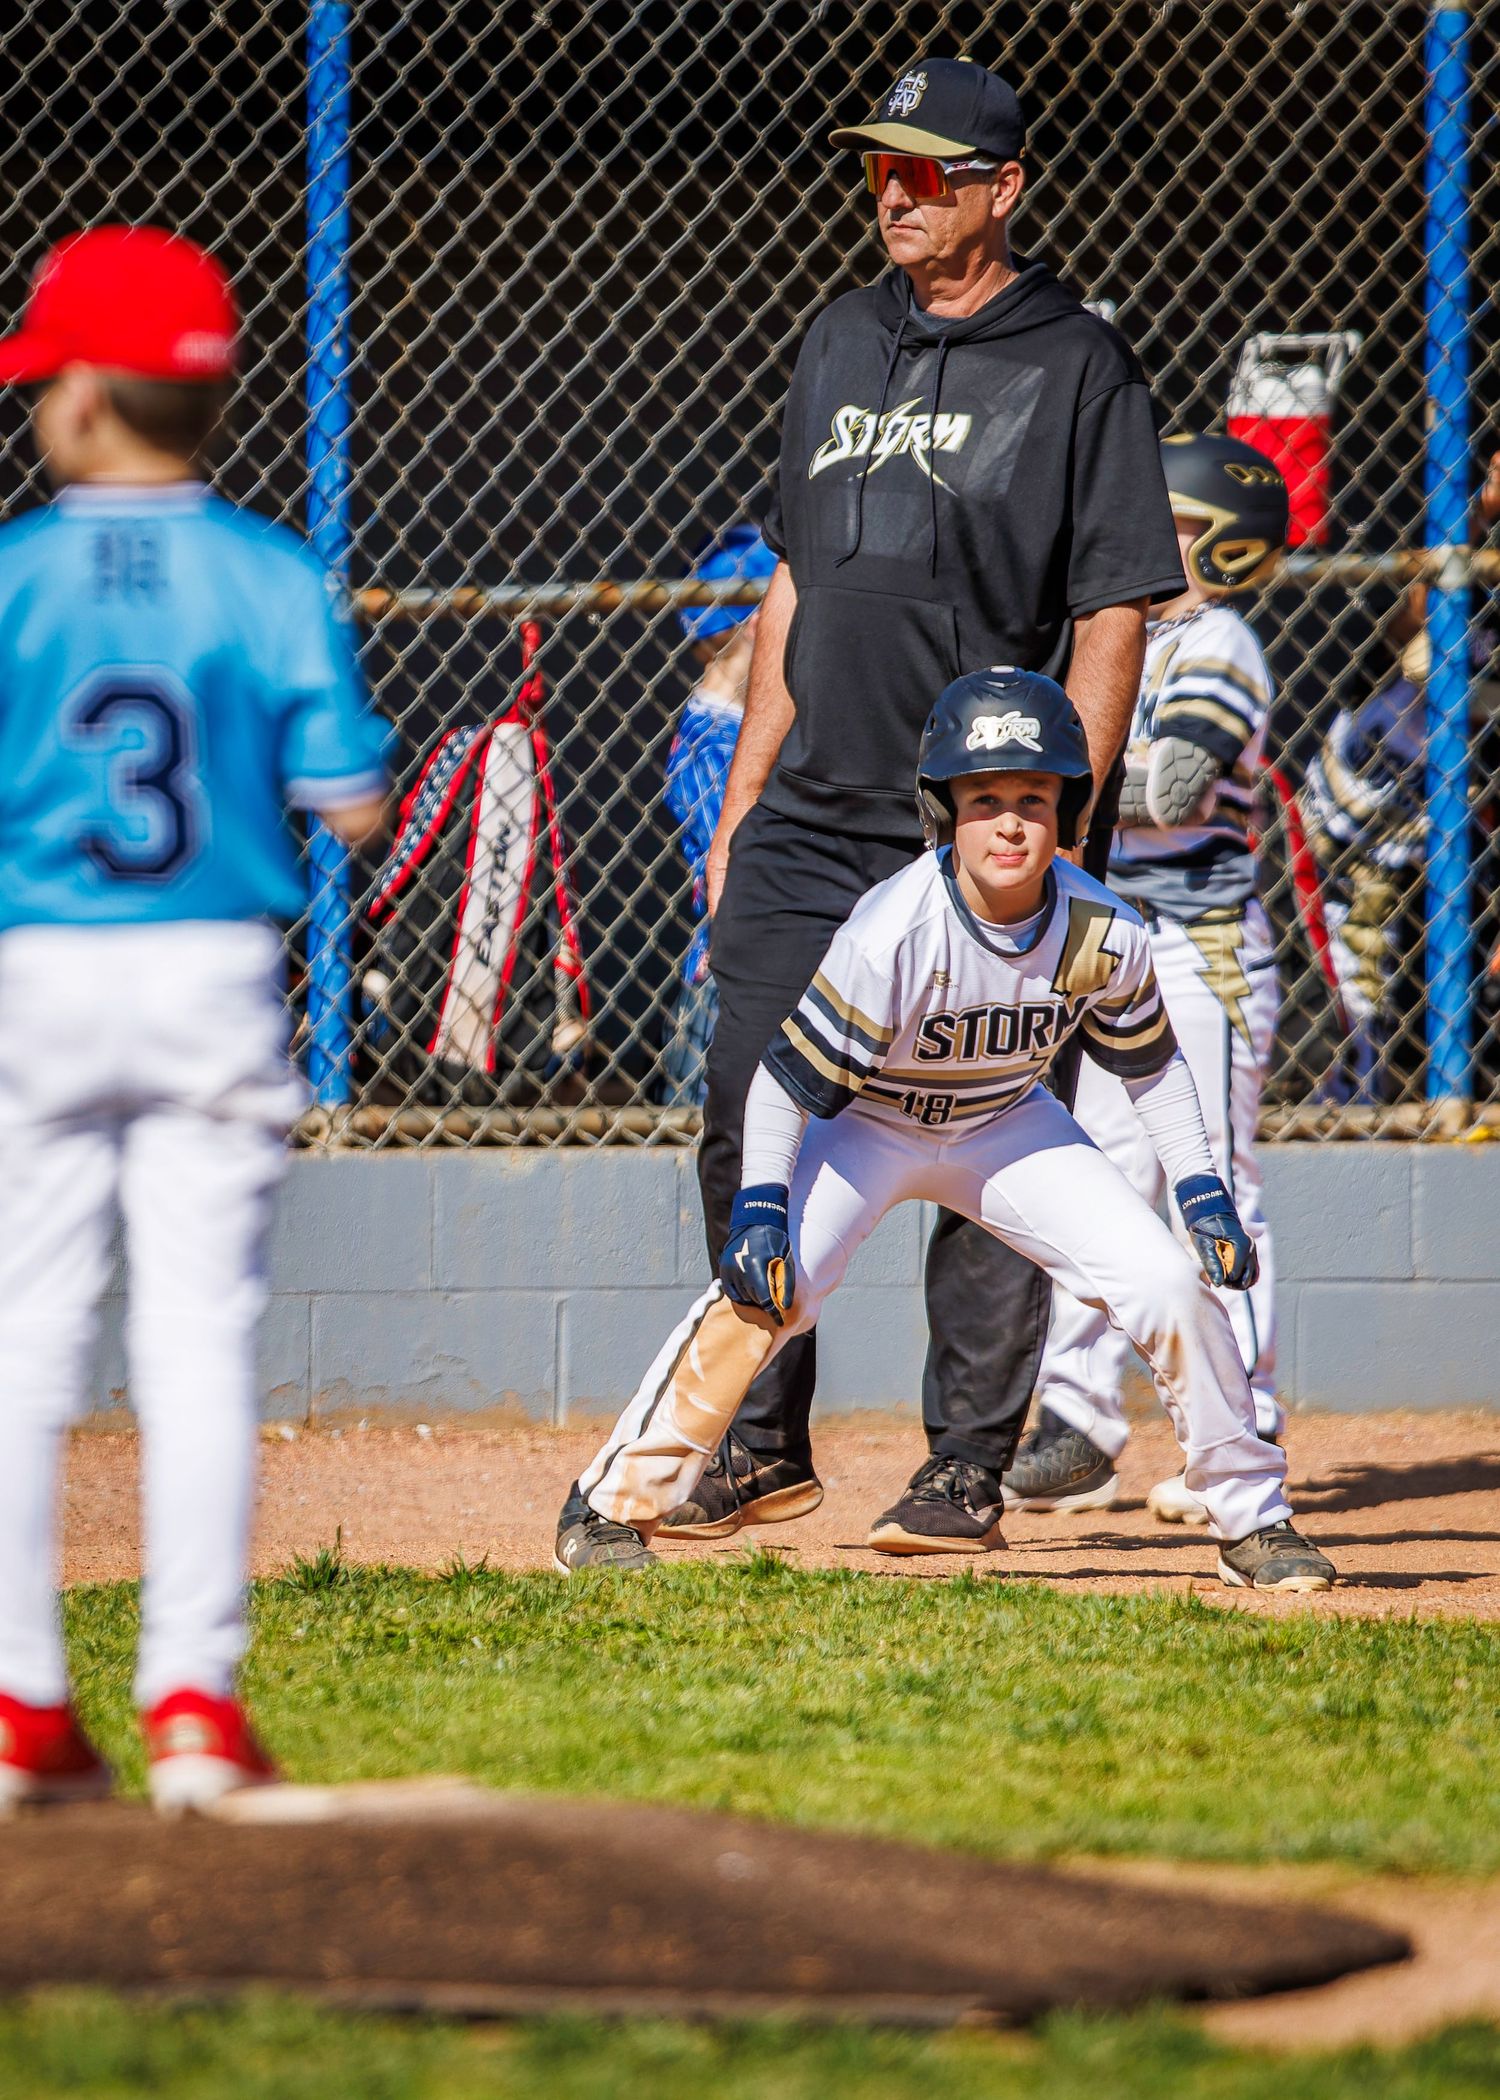
Another one of my favorite sequences is when a runner is on 3rd base with that “I’m about to cause problems” look—watching the pitcher like a hawk and timing the dash for home.
In high-intensity, late-inning, close games (when coaches start making decisions that raise everyone’s blood pressure), I like to position myself almost directly behind or close to 1st base so I can shoot straight down the line at the runner breaking for home. It gives a dramatic, face forward- feel—like the runner will charge right out of the frame at the right moment.
Now, fair warning: 1st base activity can absolutely ruin your life here. Between a first baseman, a coach, and someone’s snack bag, your “perfect angle” can turn into a game of real-life Tetris. So you’ve got to bob and weave to keep a clear view—quietly, respectfully, and with the agility of someone trying not to get yelled at.
My goal is to capture that moment when the runner locks in, reads the pitcher, and commits to the dash—because that split-second decision is pure baseball storytelling.
Warmups + in-between innings: the “bonus content” goldmine
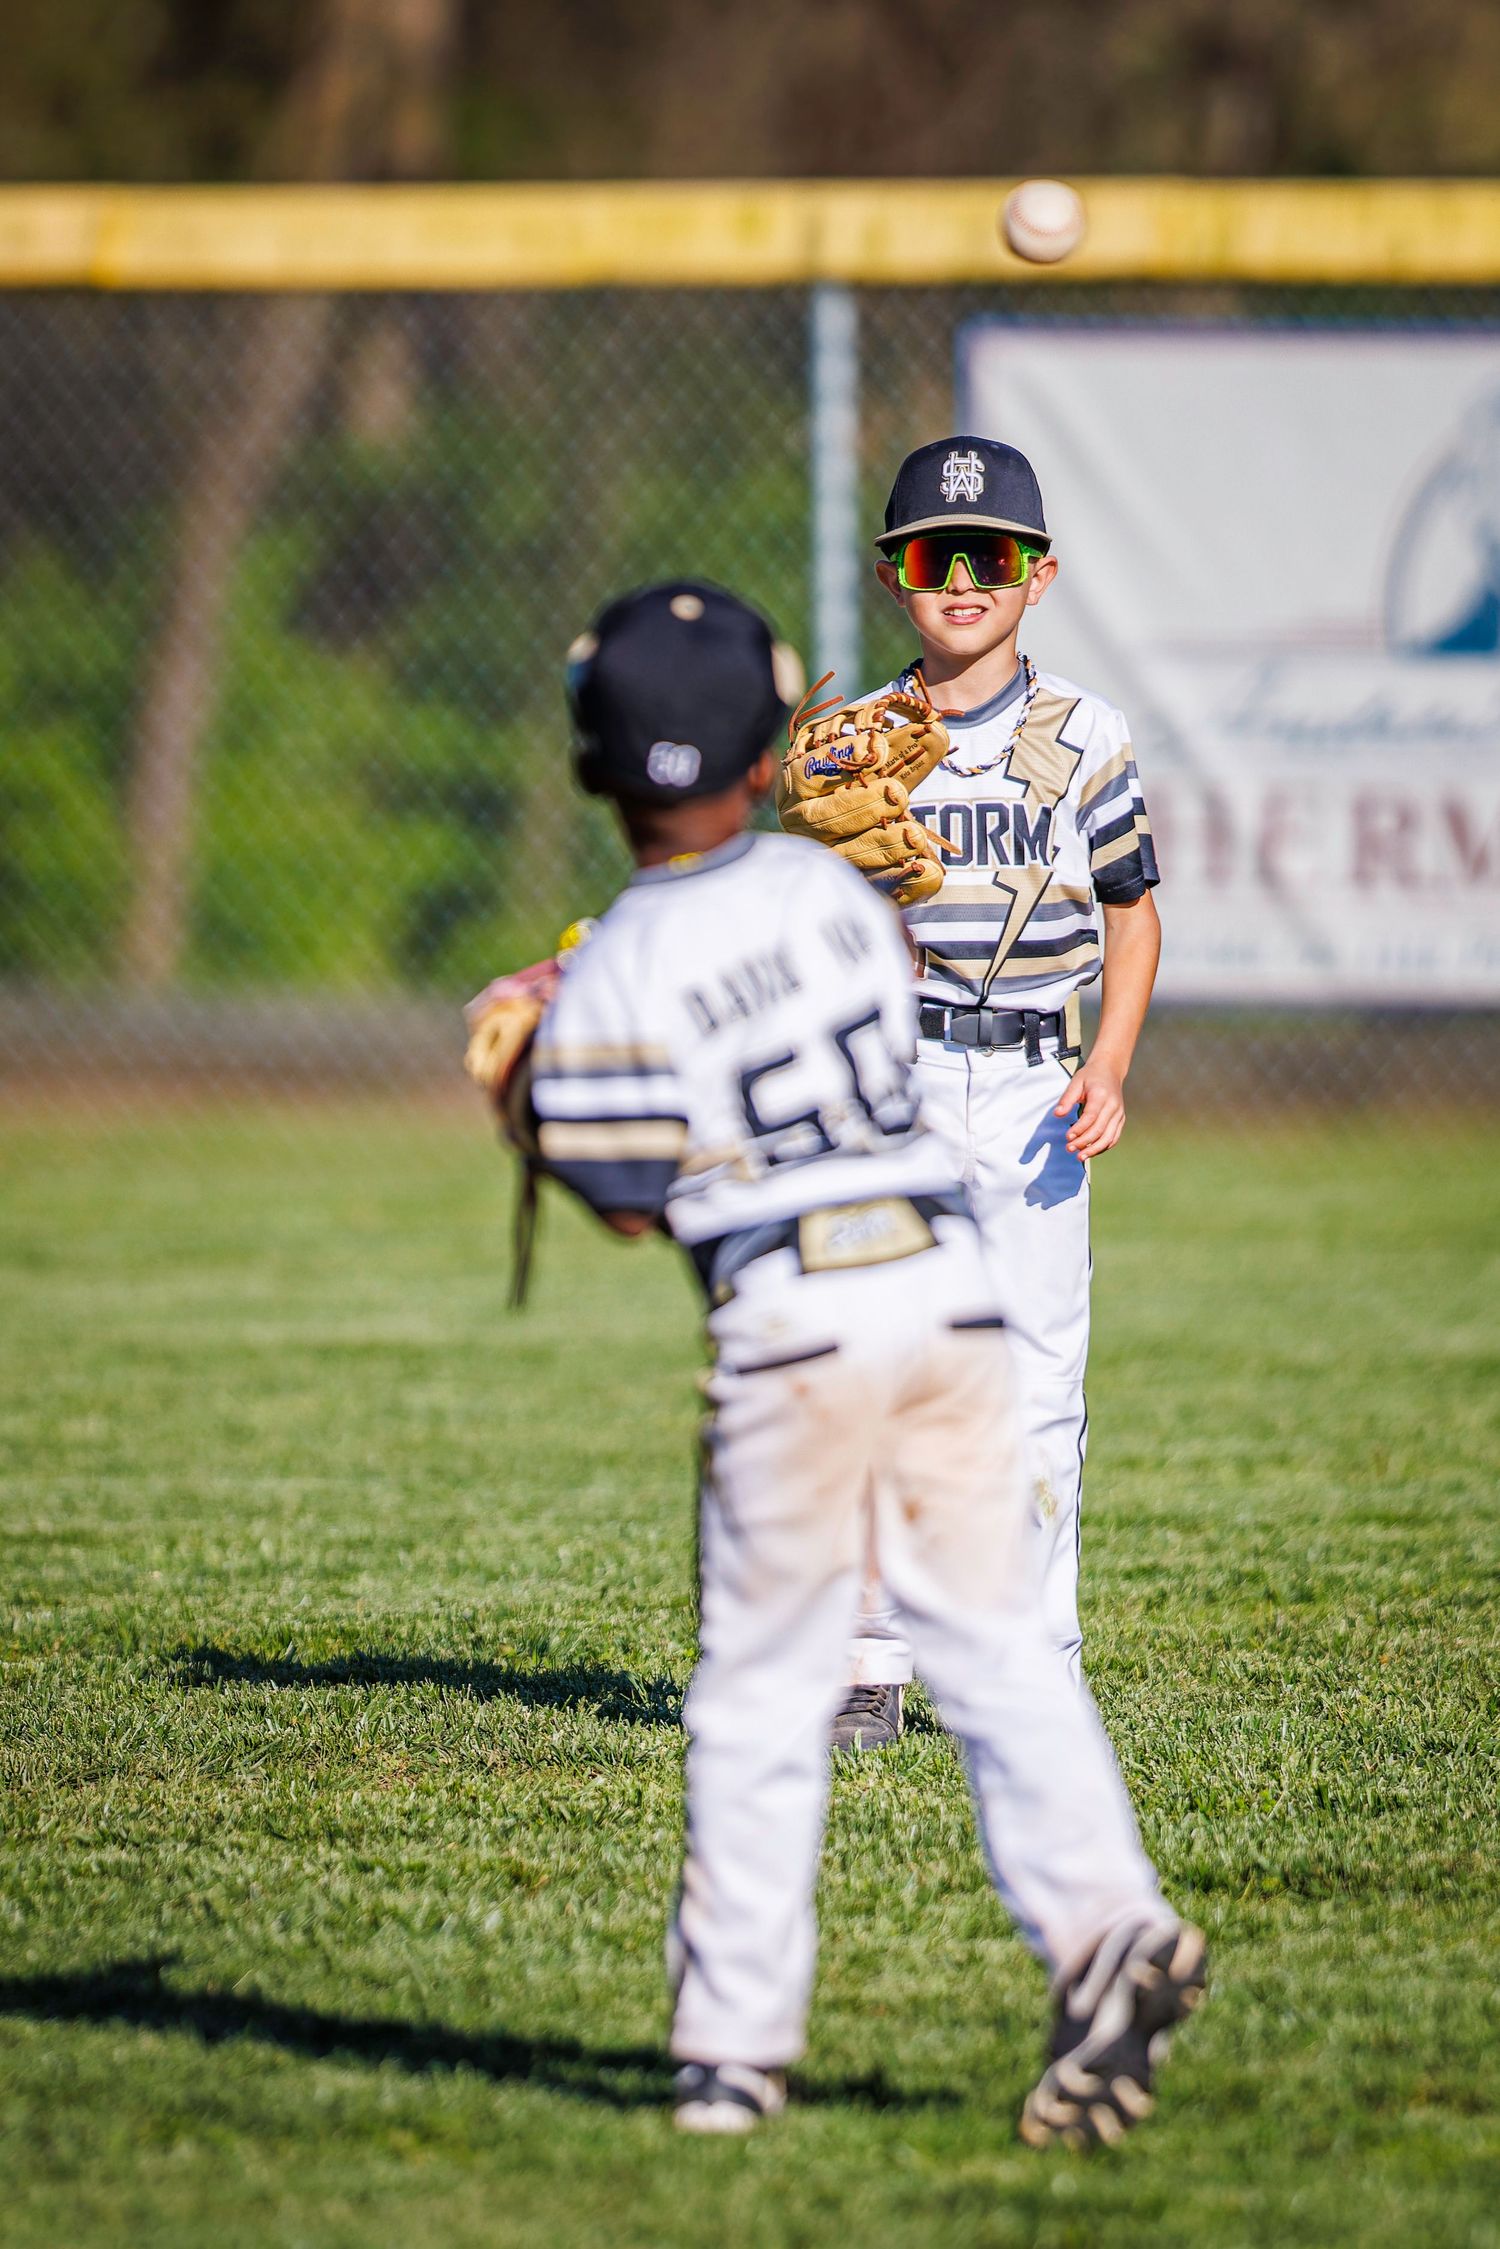
Lastly, let’s talk about the random shenanigans during warm-ups and between innings—because honestly, that’s where some of the best personality shots live.
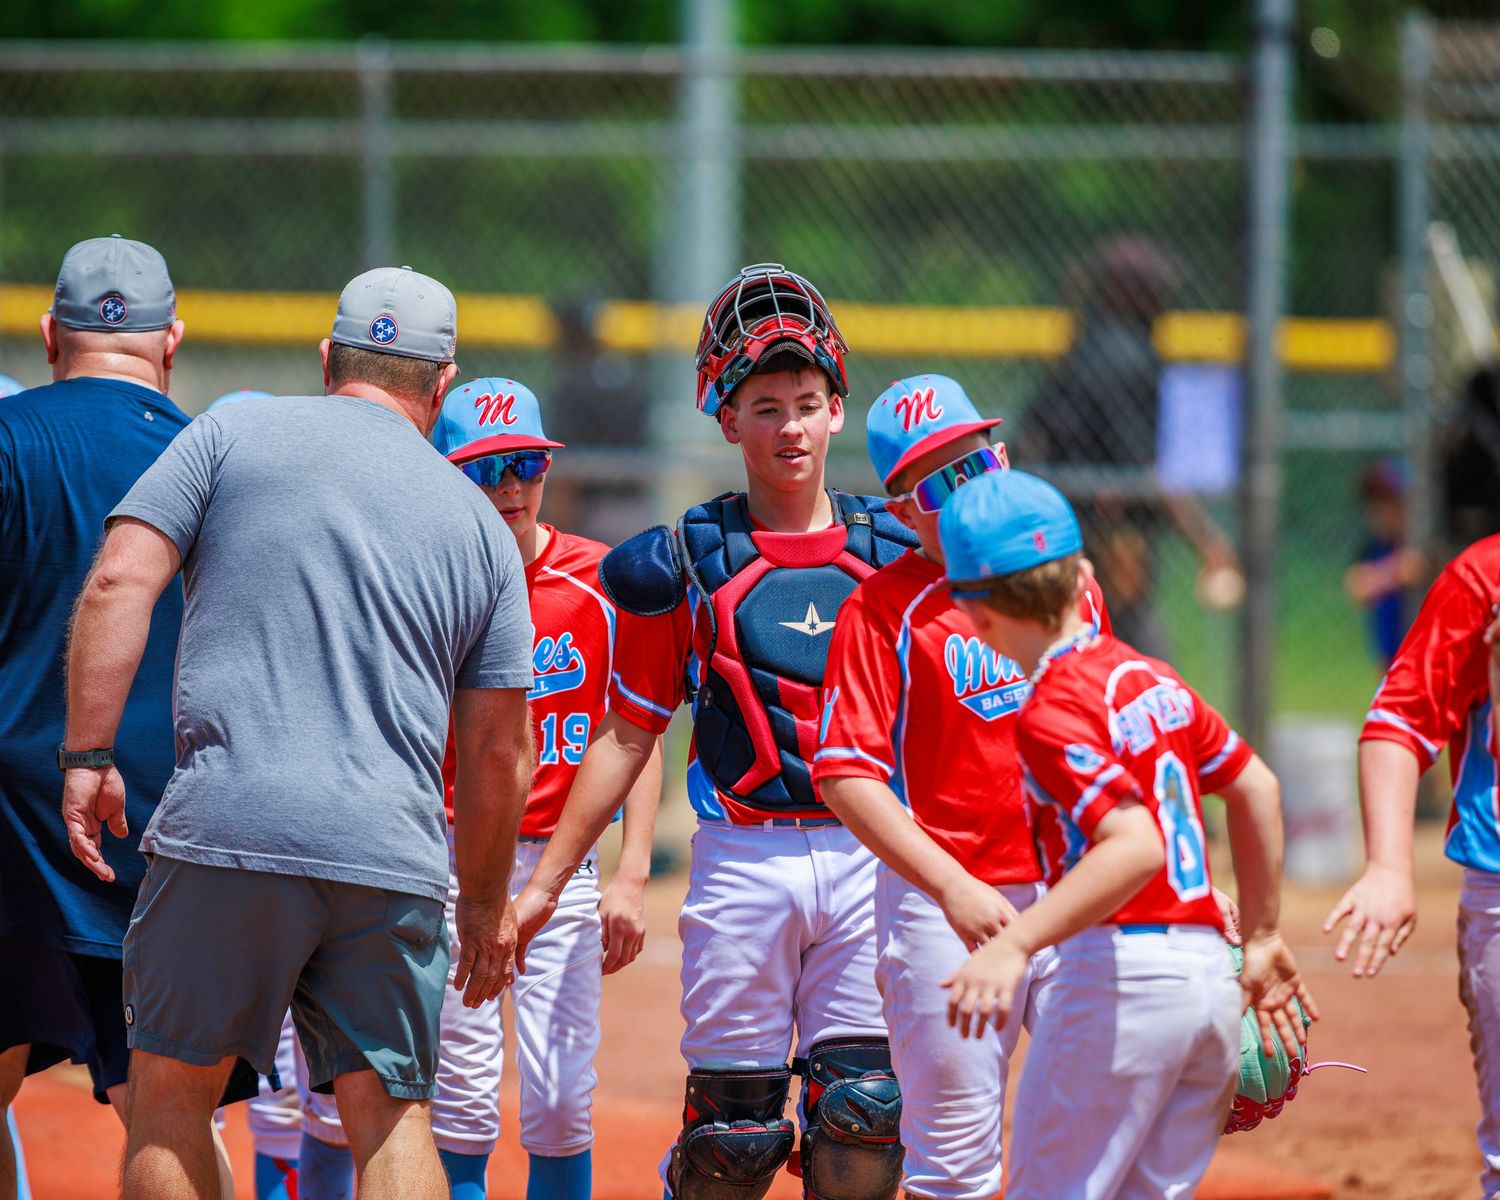
My goal here is simple: be ready anywhere. Catch play, dugout laughs, glove taps, the “I definitely didn’t miss that throw” side-eye… and of course, post-game handshakes where half the team looks like they just won the World Series and the other half is already thinking about snow cones.
In this warm-up shot, I wanted the player facing me in sharp focus, with the player in the immediate foreground slightly blurred—so it’s obvious what’s happening without spelling it out. It’s a simple little visual trick that makes the moment feel more real… and makes the viewer feel like they’re standing right there on the field.
Want photos like these for your child (or team) this spring and summer?
If you want a gallery full of game action, big moments, and the fun stuff that happens between plays, I’m booking youth baseball games for the upcoming spring and summer seasons. Contact me through my website to lock in a date—especially for rivalry games, tournaments, and end-of-season runs (those fill up fast).